
General information:
The Tongariro Alpine Crossing is a 20km hike located in the Tongariro National Park in central North Island, New Zealand. It is the countries oldest national park, sitting between Mount Tongariro and Mount Ngauruhoe.
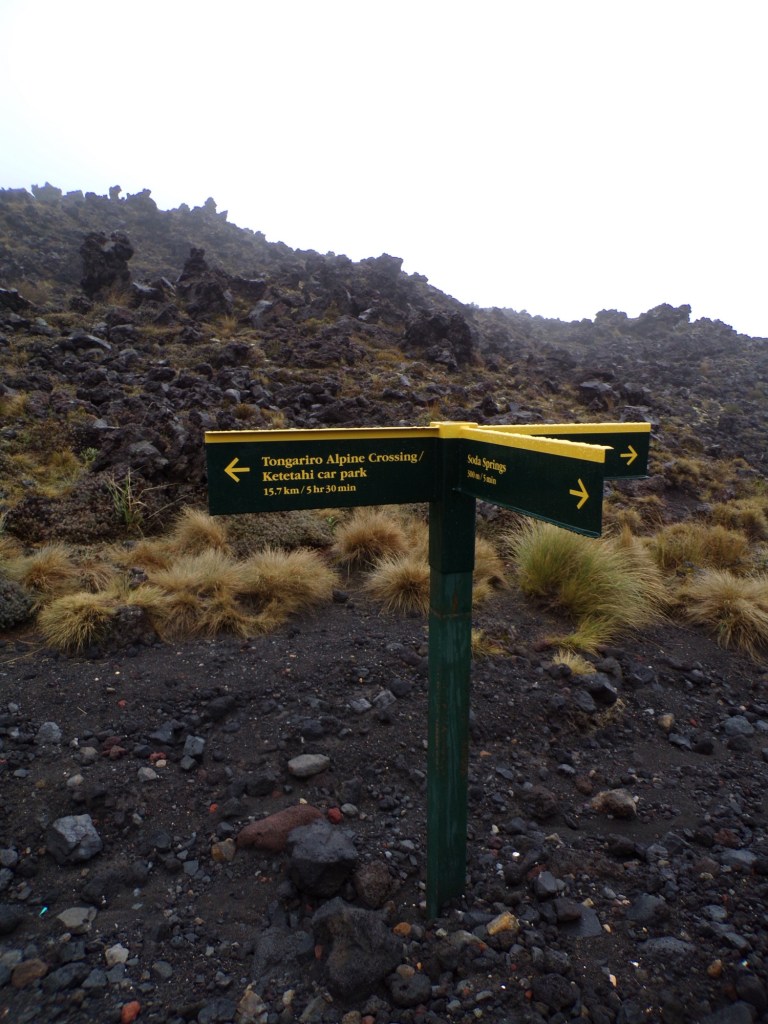
The walk is famous for being New Zealand’s best day hike, predicted to take between 6 and 8 hours. The hike traverses volcanic terrain and includes 800m in elevation. The track starts at Mangatopopo road end and finishes at Ketatahi road end, you can do it the opposite way round but this is not recommended as it is much harder.
Know before you go:
Weather:
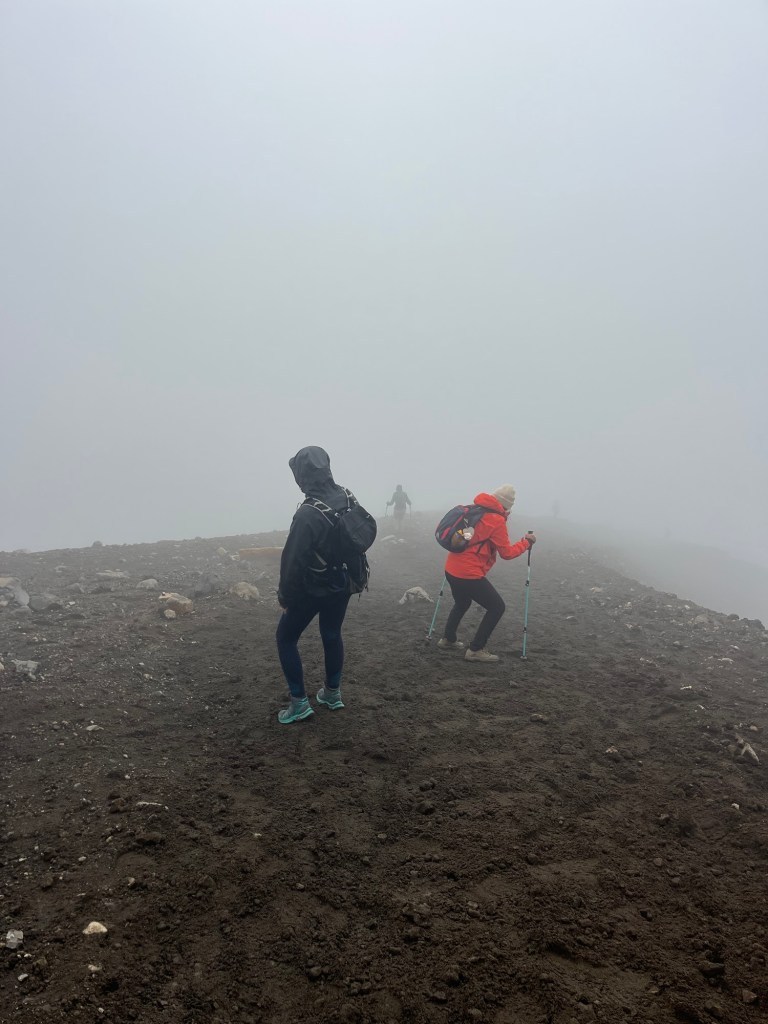
The walk is along an alpine environment, meaning the weather can change very quickly. Even in summer, you are likely to experience cold temperatures, strong winds, heavy rainfall, poor visibility and even snow. Therefore you should be prepared for all eventualities and make sure you pack accordingly.
We had obsessively studied this weather forecast to give ourselves the best possible chance of having a clear day to do the hike. The forecast was showing ‘fine’ conditions with high chances of good visibility, until the night before when it showed cloud, high winds and a high chance of low visibility… fabulous. The day after was looking even worse so we went for it anyway and it was still very fun, but we did miss out on a lot of good views due to low visibility.
It is definitely recommended to have 2 days set aside to do the crossing, as the DoC can cancel the crossing if the weather is too bad.
DOC form:
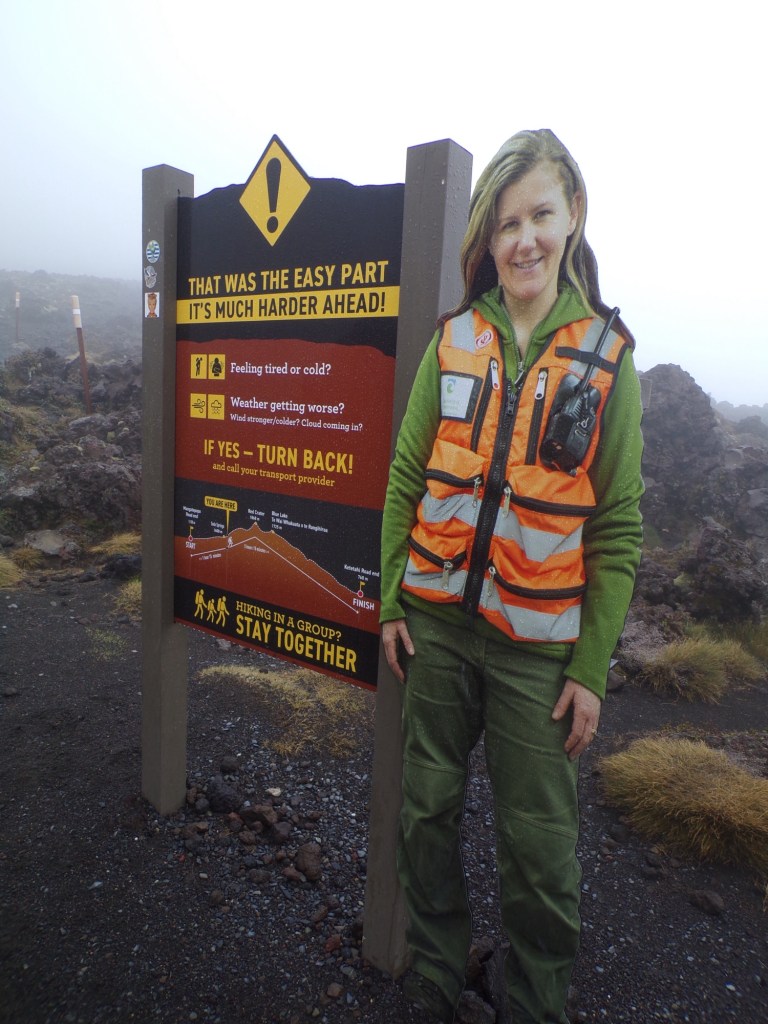
It is highly recommended that you fill out the Department of Conservation (Doc) form for this hike to assist with management of the area. The track has become extremely popular, with over 100,000 people completing it each year. By asking visitors to complete the form, the DoC aim to ensure the track is sustainable and safe, respects the cultural significance of the area and protects the fragile environment.
The crossing holds important cultural and spiritual significance to Māori people. For local Māori, the volcanoes of Tongariro, Ngauruhoe, and Ruapehu are thought of as sacred, ancestral, and living entities. They are highly regarded as “soul relatives” and therefore should command respect by tourists.
Visitor numbers are putting constant pressure on the conservation and cultural values of the area, as well as the infrastructure. These pressures include congestion, waste management and continued environmental damage.
Shuttle:
The beginning of the crossing is a 20 minute drive away from the end, so it is worth booking a shuttle if you don’t have any family or friends to pick you up. We used Tongariro Expeditions which cost $65 per adult and they were great. They message you the night before the crossing to confirm that all is going ahead, and not cancelled due to poor weather.
You can choose between a shuttle at 6:30am, 7:30am or 8:30am and then have to arrive at the car park 15 minutes before the chosen time to check in. As you board the bus they give you a sheet with a breakdown of the route, how long each section takes and some useful facts about the route, all of which we found very useful while walking. They drive you from their car park at the end of the hike, to the beginning, so you essentially walk back to your car.
Once you have completed the crossing, they also have shuttles from the finish back to the car park. Although it is only 1km/15 minutes, you do not want to walk another step once when you don’t have to! They run every 10 minutes between 13:30 and 17:30 which is really useful. You use the fact sheet they gave you at the beginning of the track as a ‘boarding pass’ to get on this return bus.
Difficulty:
The Department of Conservation states that a high level of fitness is needed to complete this hike. Although the crossing is very long, and parts are steep, we also got overtaken multiple times by families with children between the ages of 6 and 10! This was very humbling, but also proves that anyone can do it.
Also, the uphill sections of the hike actually only take 90 minutes during the first half of the hike. After that, the rest of the trail is mostly either flat or downhill, so you know the hardest part if behind you.
As long as you pack appropriately and wear good shoes and clothing, I truly believe most people can comfortably complete this hike. Regardless of hiking experience, if you take it slow and take breaks whenever you need it does not matter how long it takes you, it is the finishing that counts.

Packing list:
- Rucksack to carry everything
- Water bottle
- Toilet paper
- Hand sanitiser
- Headphones
- Jumper
- Coat
- Waterproof trousers
- Lunch
- Snacks
- Camera
Walk breakdown:
On the map we were given by our shuttle, they broke the walk down into 8 different logical sections, so I have borrowed that order and will describe my experience of each one below. Get ready for a lot of cloudy photos…
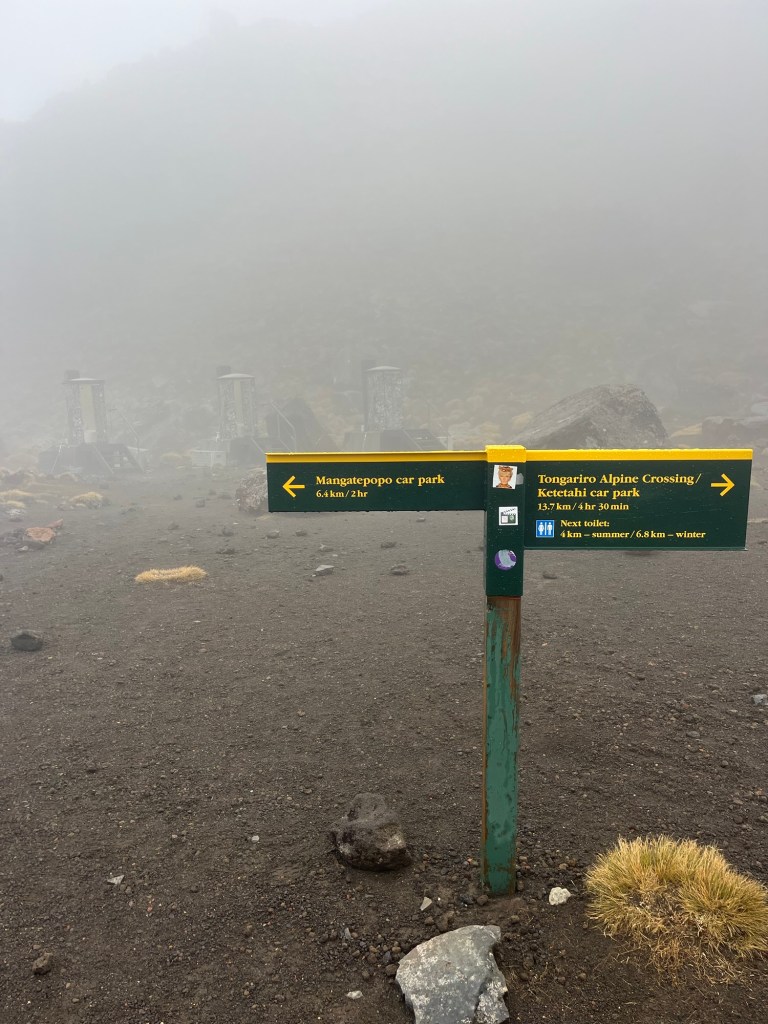
1) Mangatepopo to Soda springs:
Difficulty: Easy
Distance: 4.4km
Time it took us: 1 hour
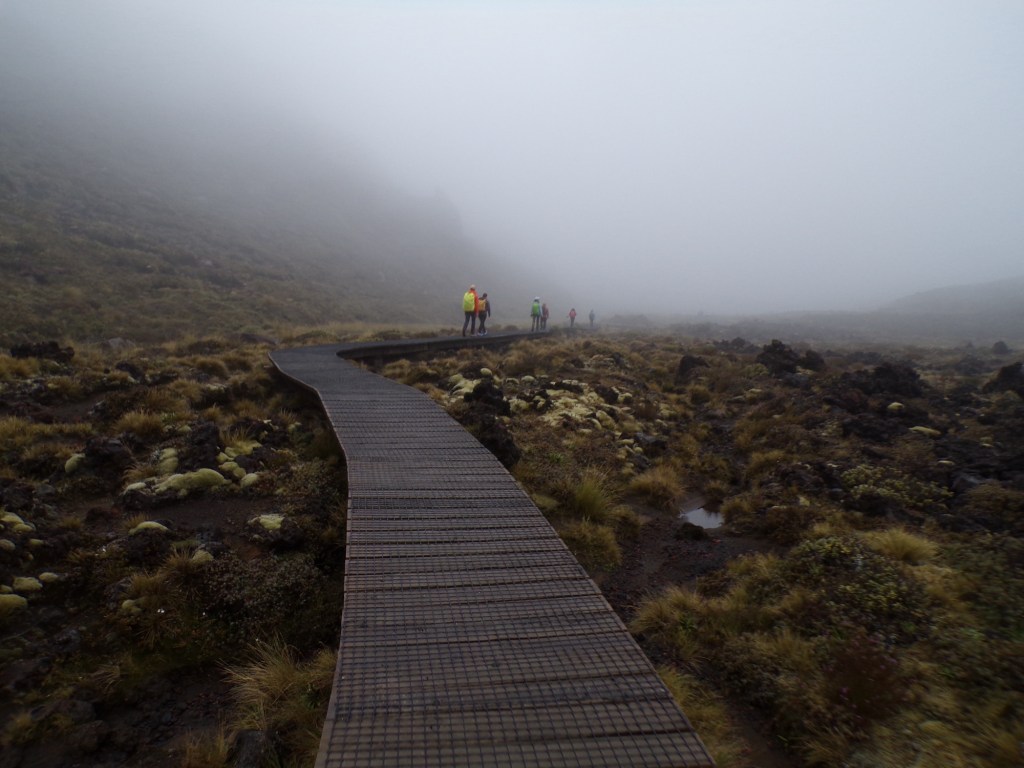
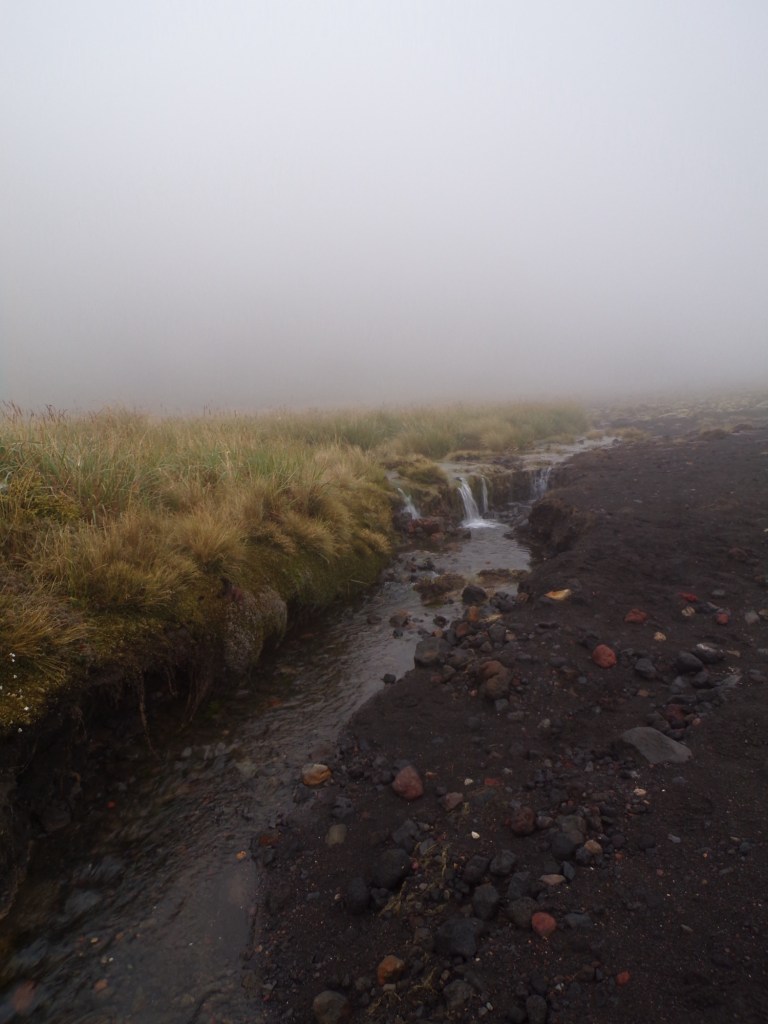
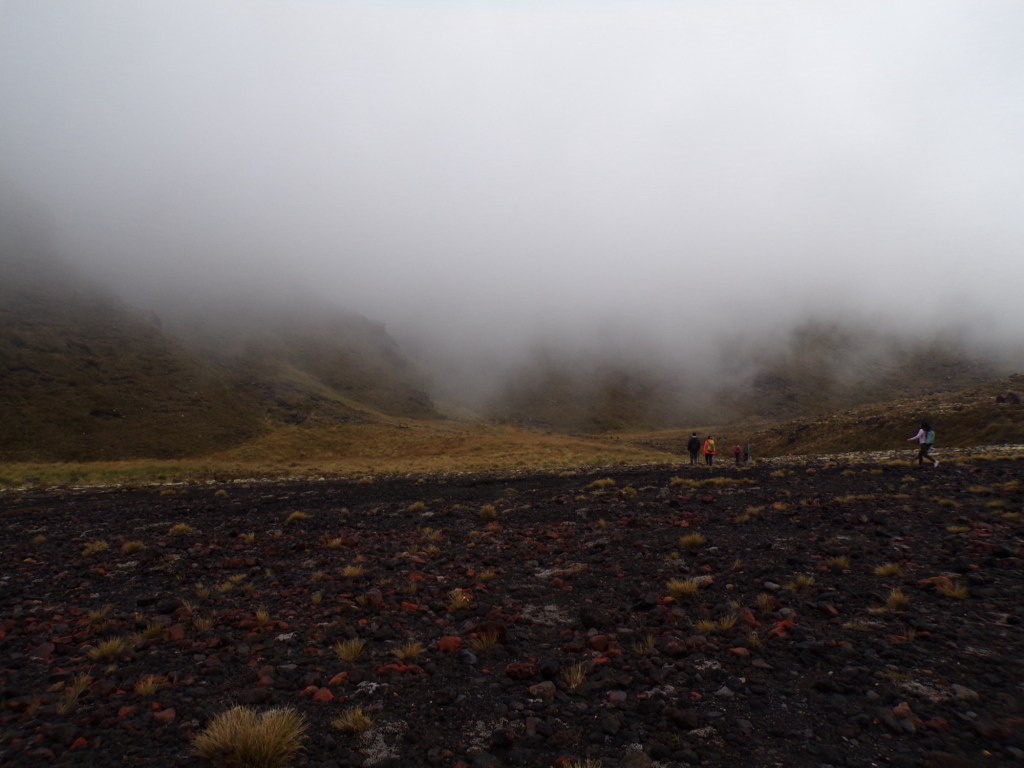
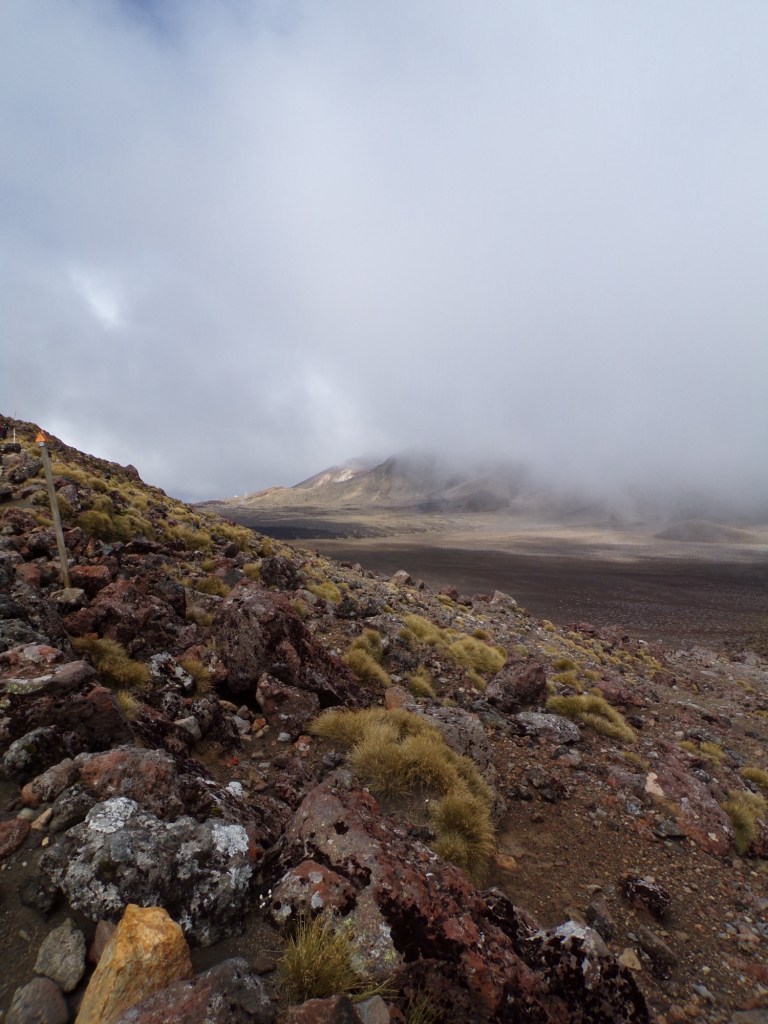
We were dropped off at the start of the crossing at 8am and set off, there are toilets located here, and a further 20 minutes into the track which are generally meant to be nicer. The beginning is very kind to you, which is great to get warmed up. It is a gentle walk along a gravel path with a few steps and uphill sections but nothing too crazy. Sadly, even on the flat sections right at the start, we were in the middle of the clouds and had very few views.

2) Soda springs to South Crater
Difficulty: Hard
Distance: 2.6km
Time it took us: 1 hour
This section starts with this hugely inspiring sign! To be fair, it is correct as the next 2.6km has 200 metres of elevation, making it one of the steepest sections of the track. In fact it is known as the ‘Devil’s Staircase’ as it has about 370 steps.
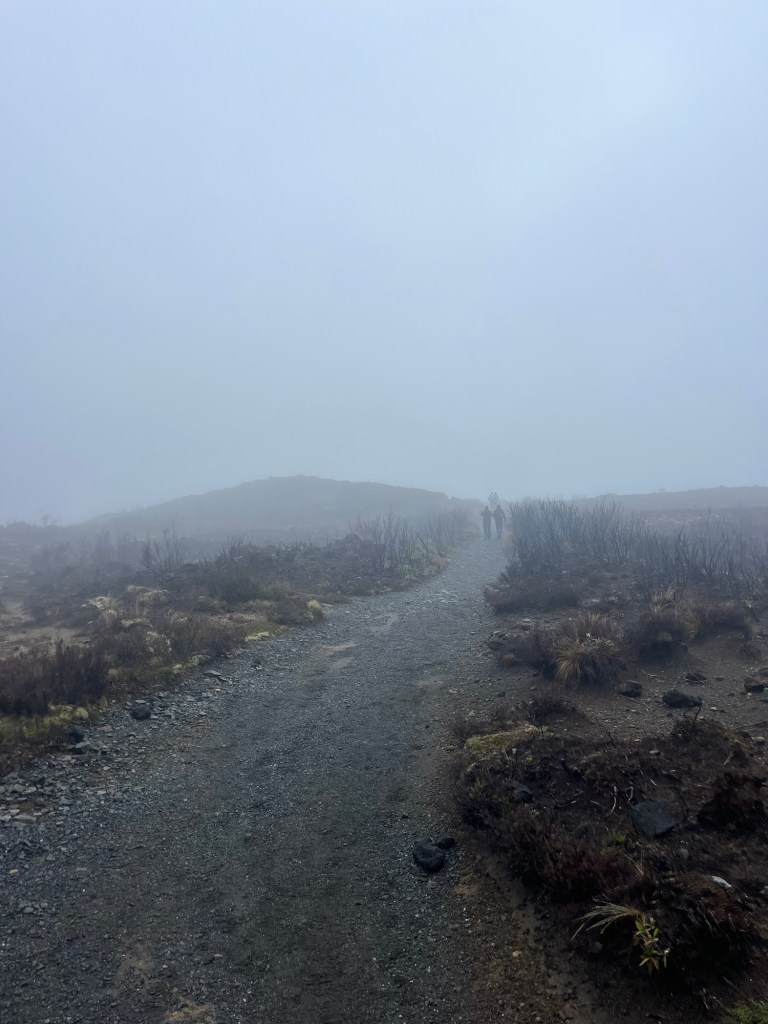
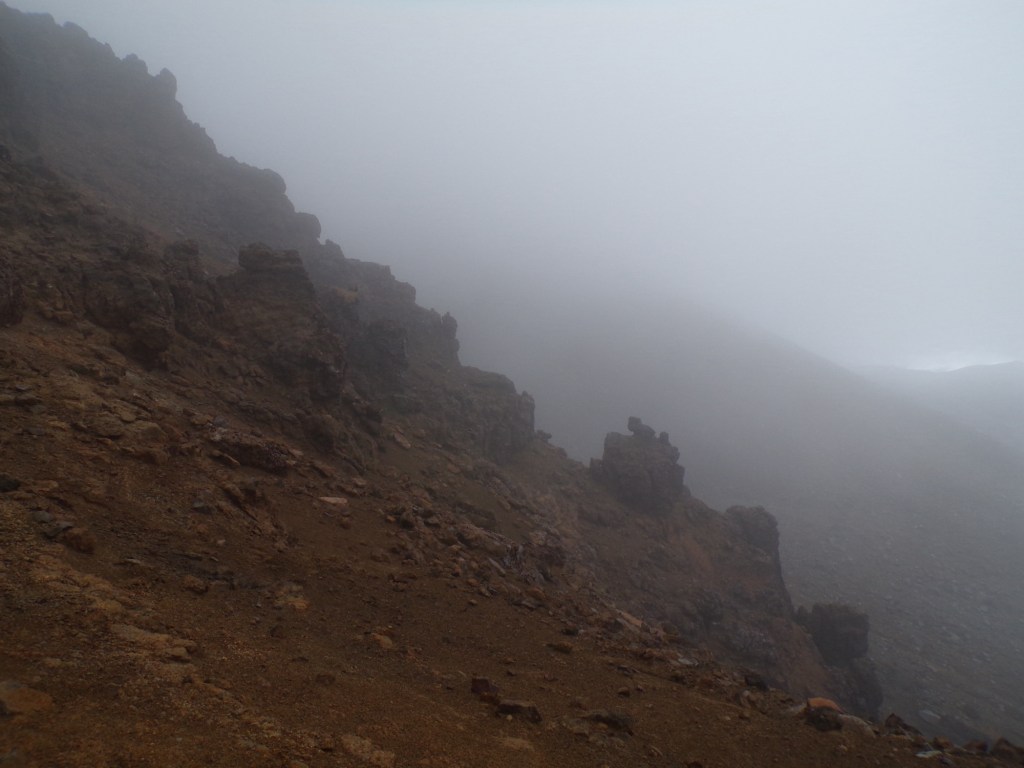
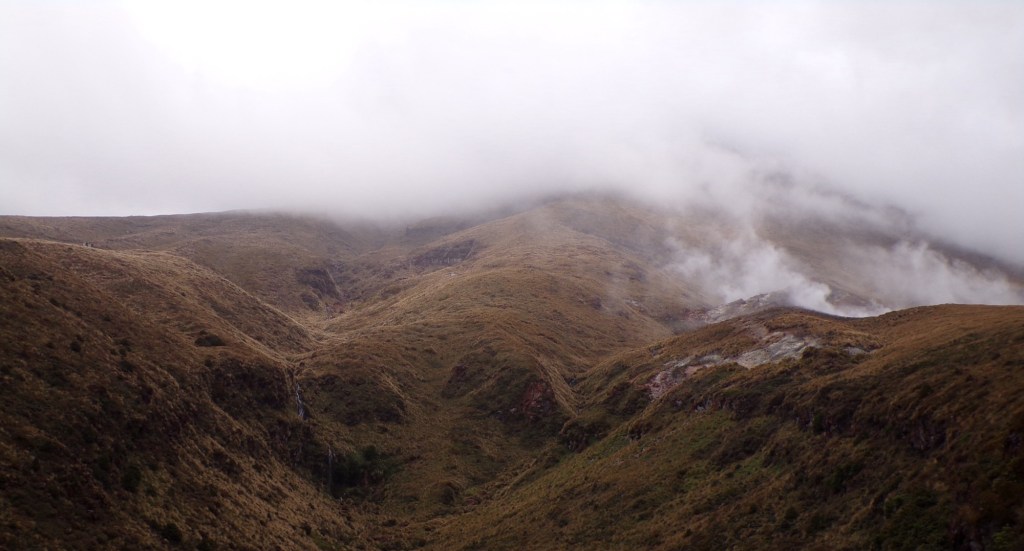
The weather continued to be bad for us, so the views were almost non-existent on the way up. However, on a clear day I am sure these would be good motivation to continue. We had a few short breaks but overall did not struggle too much with this part. Nearer the top I could barely see in front of me, and our hair was constantly wet from the condensation in the air! We enjoyed listening to an audiobook on this part to distract us from the steepness of the path.
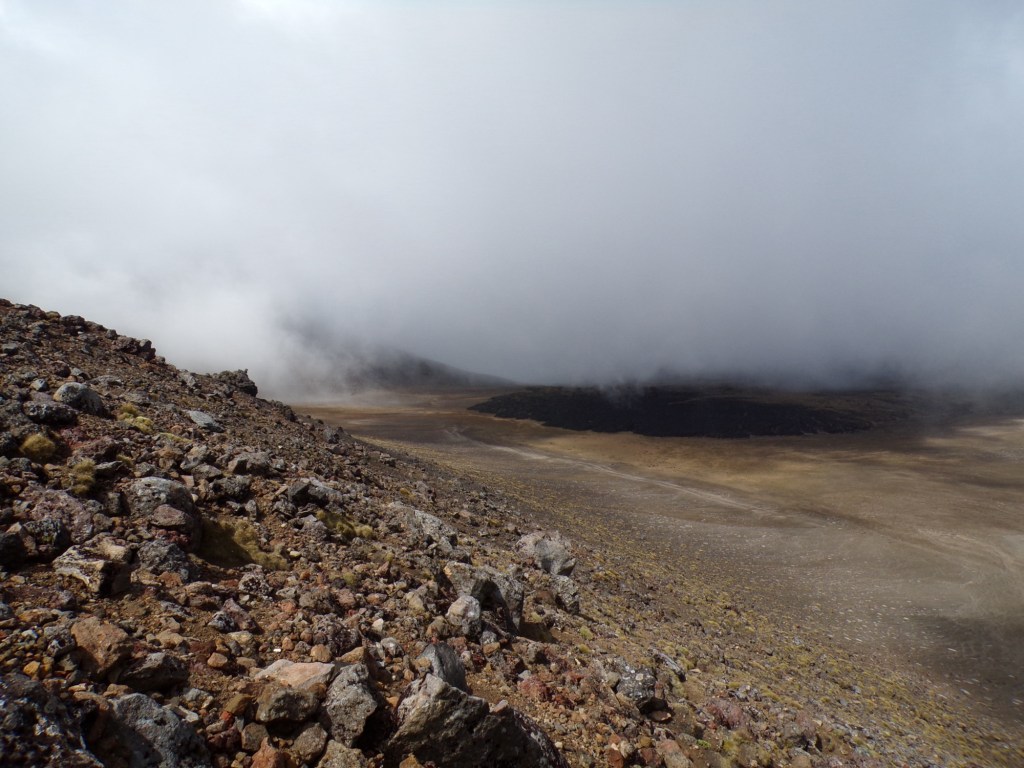
3) South Crater to the base of Red Crater Ridge
Difficulty: Easy
Distance: 1km
Time it took us: 15 minutes
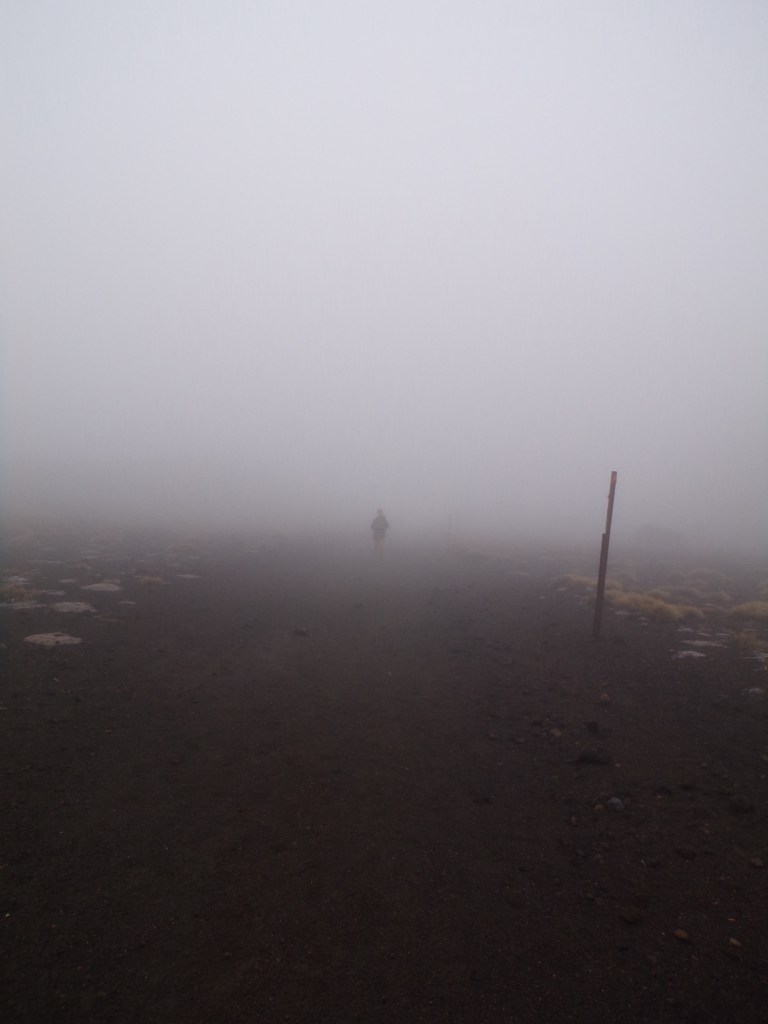
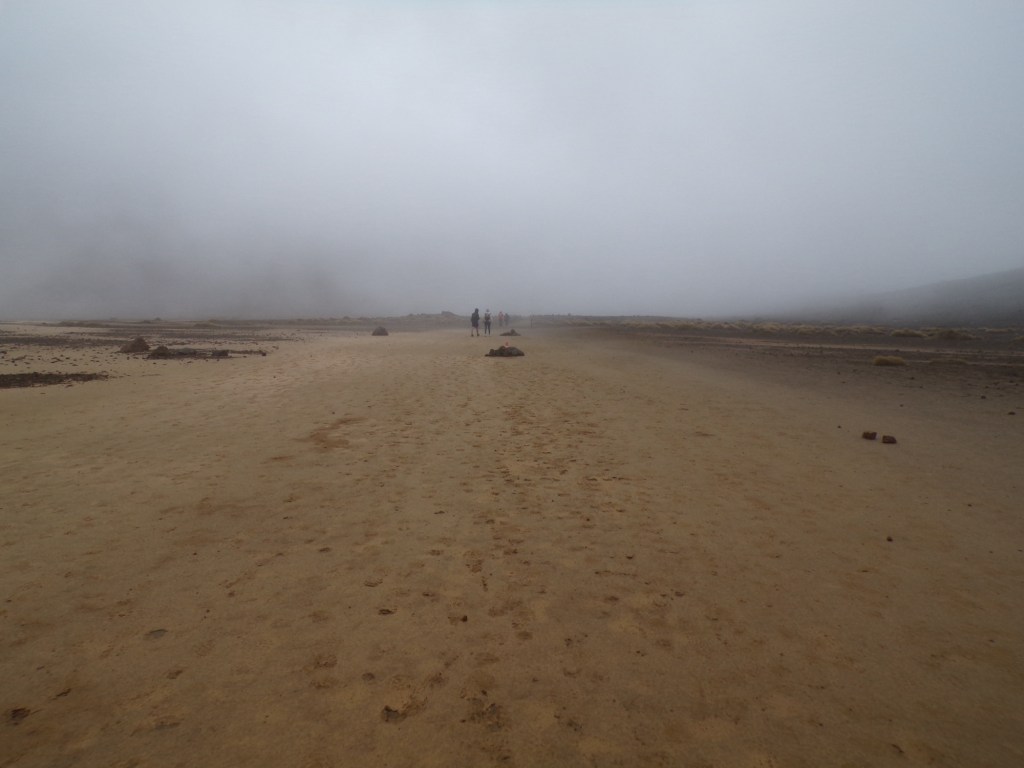
There are more toilets at the beginning of the South Crater. It is a lovely flat walk on an easy sandy path, which is a great break from the steep climbs. It was so cloudy that when I ran about 30 paces in front of Flora, I could barely see her! On a clear day I am sure it would be lovely, and have some great views across the volcanoes.
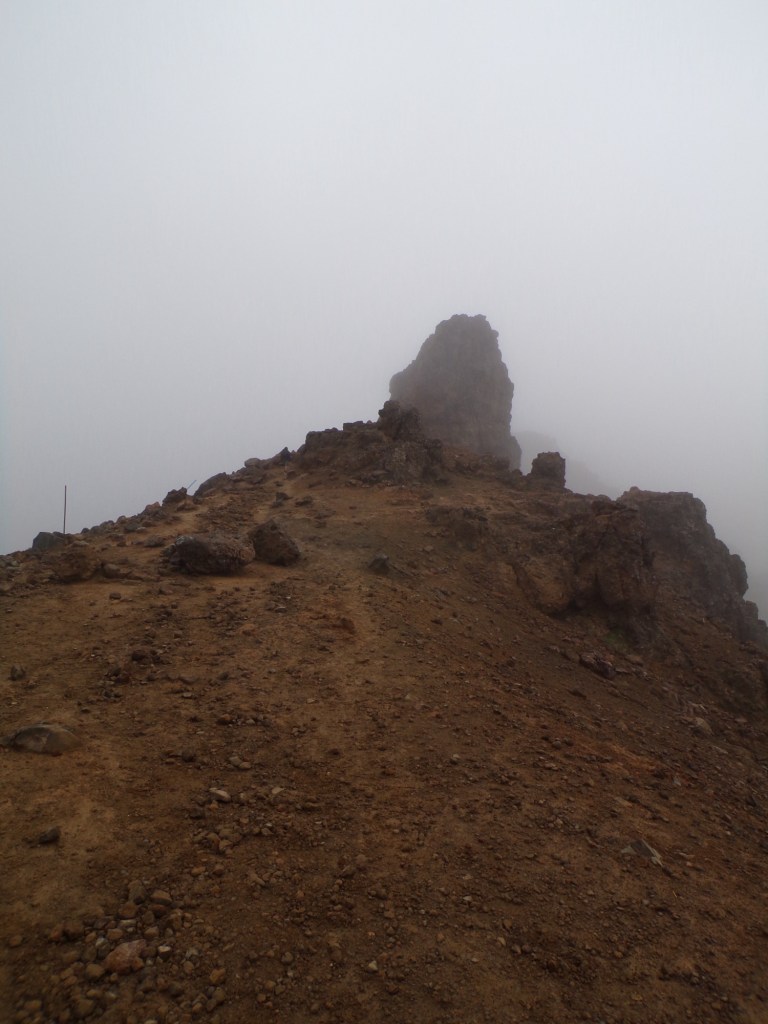
4) Red crater Ridge
Difficulty: Hard
Distance: 1.4km
Time it took us: 40 minutes
This is the steepest section of the track, but is not that far so it is very bearable if you go slowly like we did. The path is wide but there are long drops to either side, so we had to be careful not to be blown off the edge! This was the point that we had to pull over to the side to let the children in a family overtake us, how humbling. I don’t know how they weren’t being blown all over the place it was so windy up there!
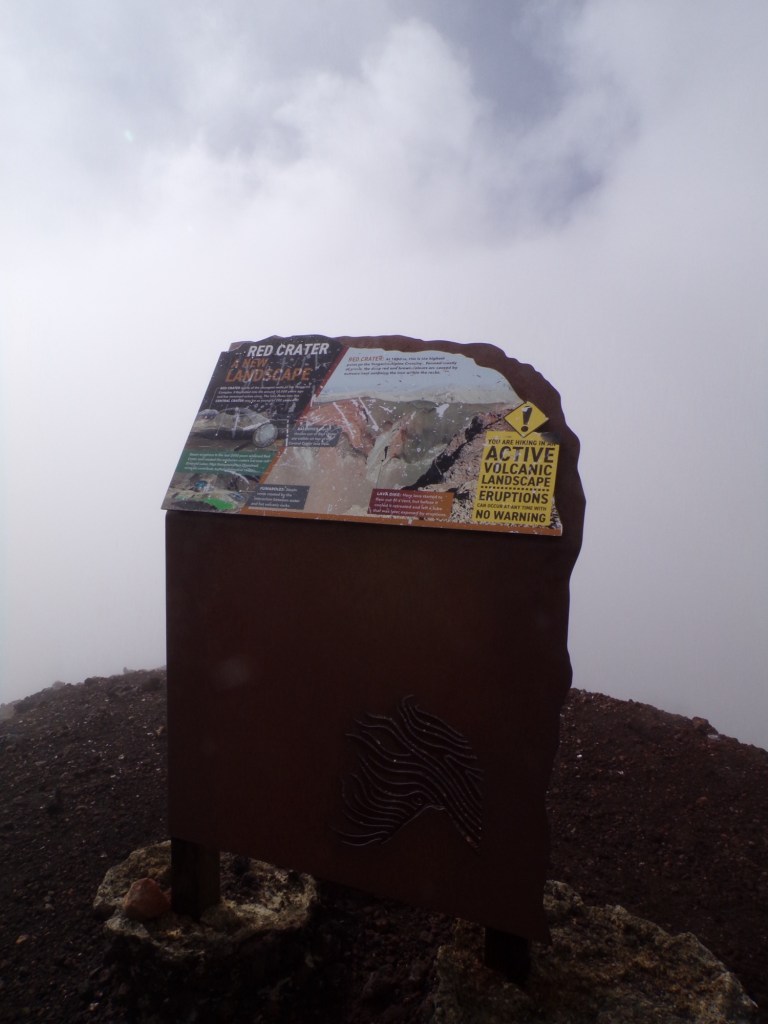
This is meant to be one of the best places for great views, if you weren’t literally in the sky like we were, as you can see from coast to coast. It would also be a good lunch spot on a clear day, as the crater is active and you can sit on the hot-spots, like natural underfloor heating! Once you reach the summit, this is the last extensive steep section complete which is a hugely satisfying feeling.
5) Red Crater summit to Emerald Lakes
Difficulty: Medium
Distance: 1.1km
Time it took us: 20 minutes
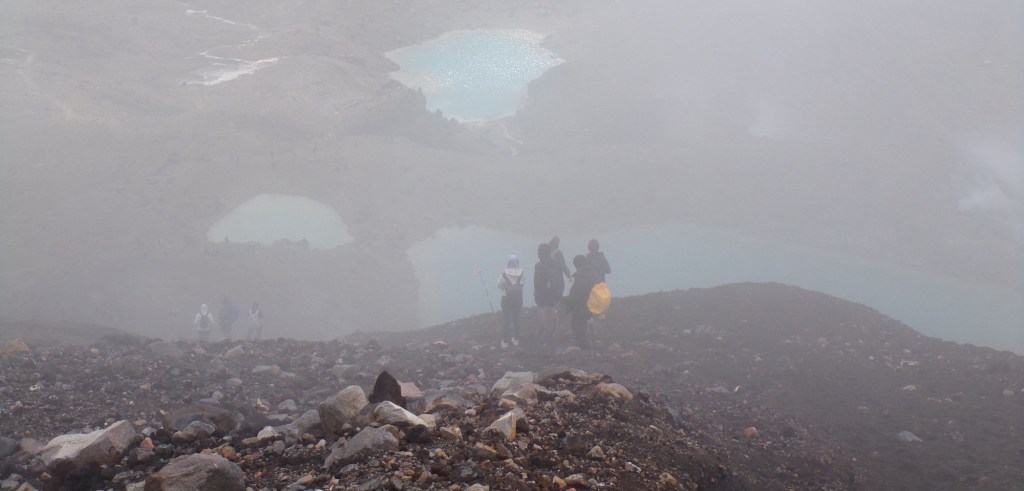
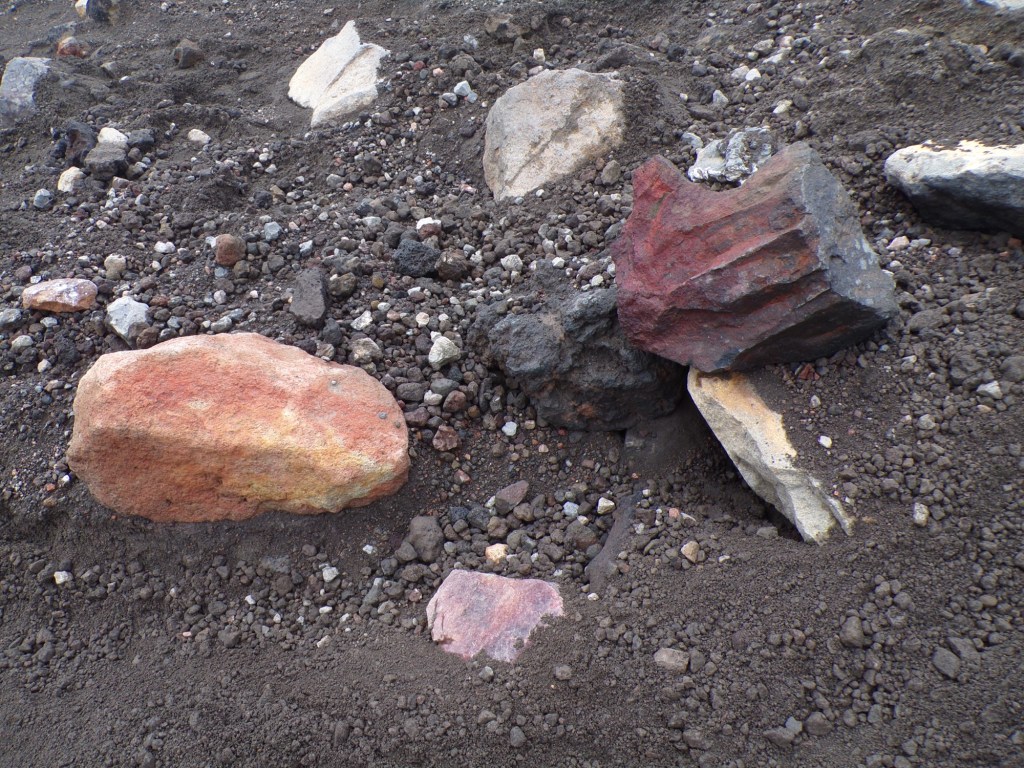
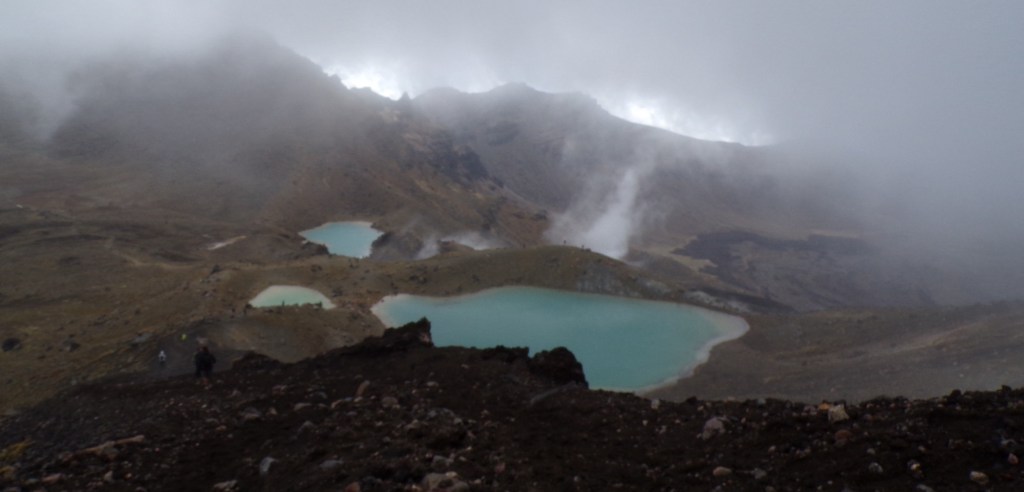
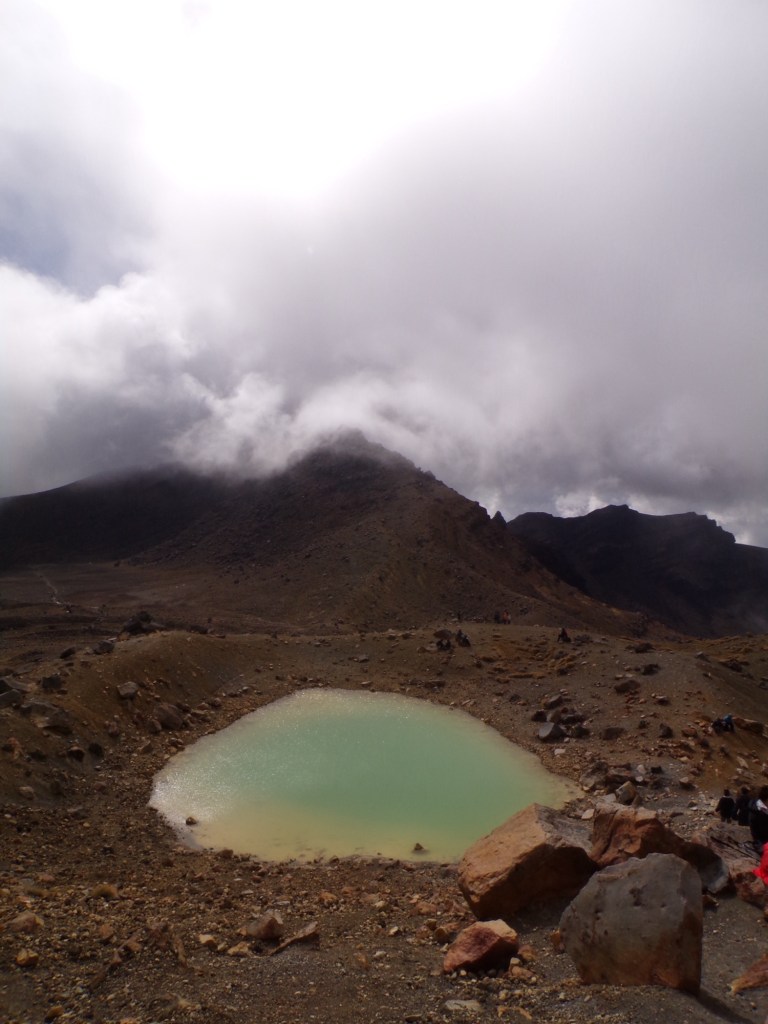
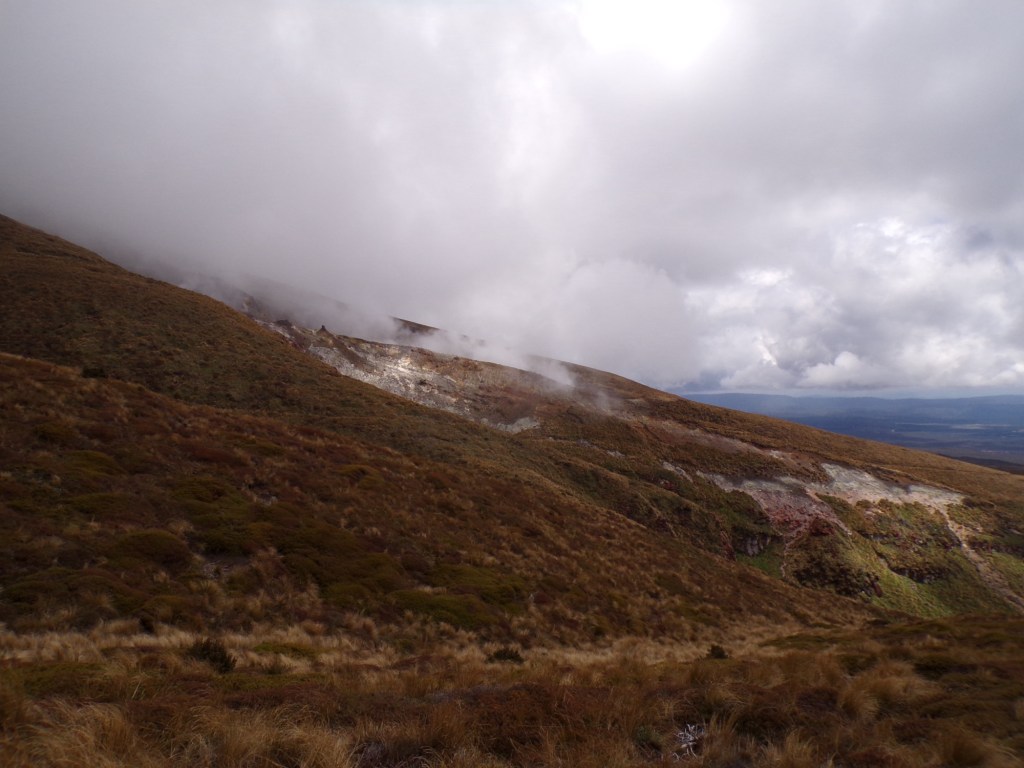
This was a very steep descent down to the iconic Emerald Lakes. We were very jealous of the people with hiking poles at this stage, as we were more falling than walking! The path is deep dirt that is very slippery and takes quite a while to get down carefully. It was only at this part of the walk, over 3 hours in, that we got our first good view of the emerald lakes in the distance. On the path down there are lots of cool volcanic rocks of amazing colours to look at.
I didn’t know if we would see the Emerald lakes at all as the visibility was so poor, but we did manage to get some good views during breaks in the cloud. We got here at 11:10am and then decided to have a 20 minutes lunch break. This spot was a bit more sheltered, and there were lots of rocks to sit on with views of the lakes. You are also accompanied by the lovely smell of eggs due to the surfer coming out the vents.
6) Emerald lakes to the Blue Lake
Difficulty: Medium
Distance: 1.2km
Time it took us: 20 minutes
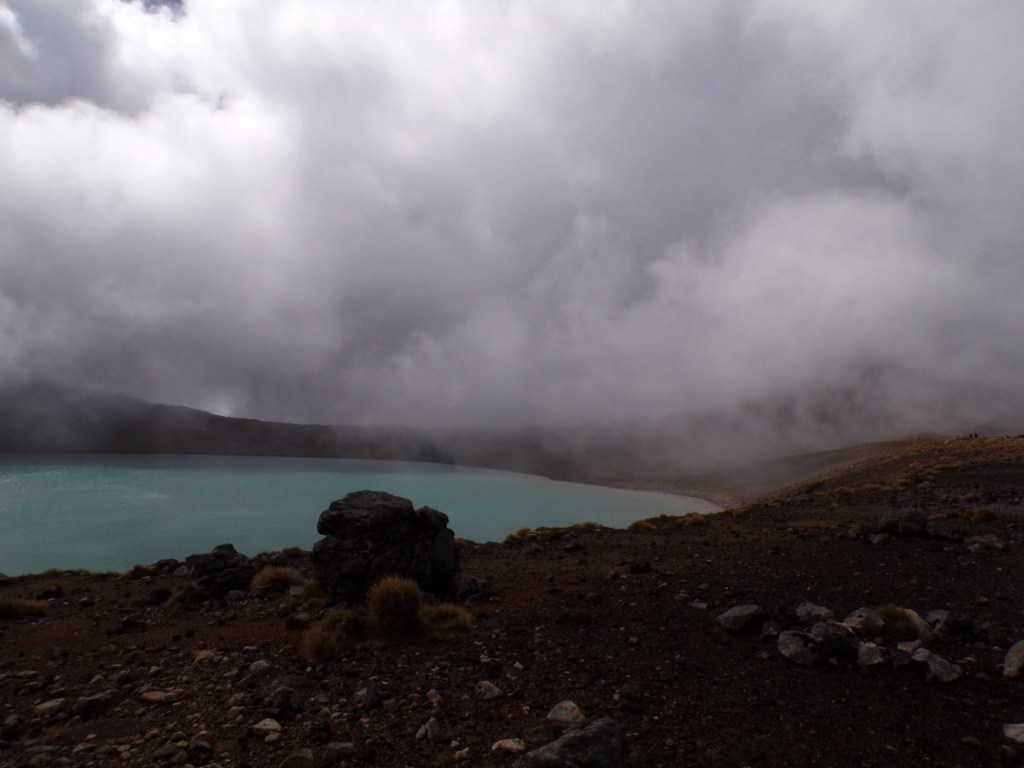
This section starts on an easy path through the Emerald lakes and along the flat Central Crater. There is then a small ascent to the Blue lake, which is a very large pretty lake. This is the last ascent in the whole walk, then it is all downhill from here! I know I am probably repeating myself here… but the views at this point would be lovely on a clear day!
Both the Emerald lakes and Blue lake were formed 1,800 years ago, when water filled explosion craters near the summit of Mount Tongariro. The iconic emerald colour comes from minerals dissolved in the water, which are heated and influenced by the surrounding geothermal activity.
7) Blue lake to Ketatahi shelter
Difficulty: Easy
Distance: 3.65km
Time it took us: 1 hour
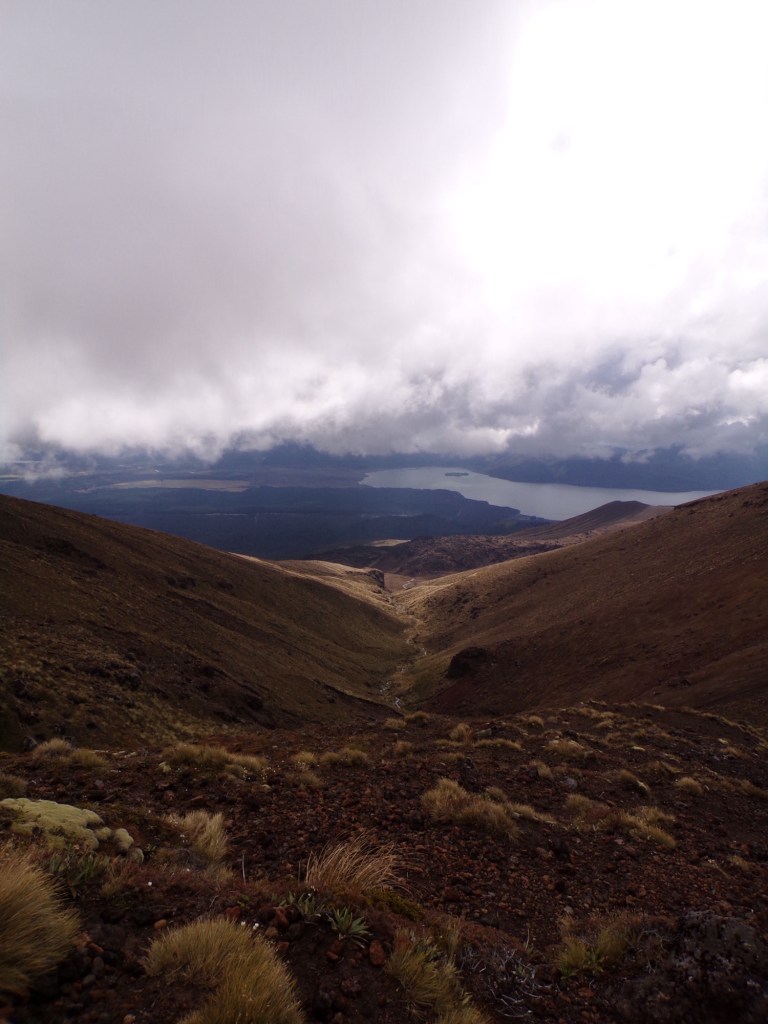
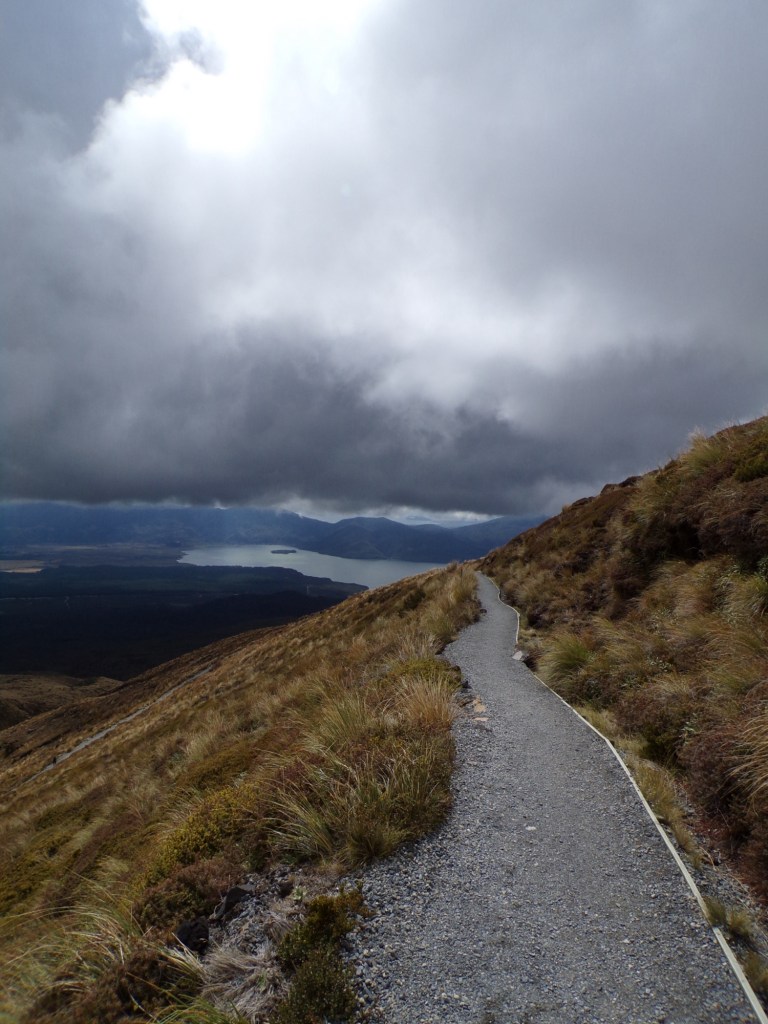
We were very lucky with this part of the walk as we had about half an hour of sun! The views were tremendous and the terrain was very gently sloping which made for some nice walking. As you leave the blue lakes there are views across the central crater, until you end up on a windy path down the side of the mountain which looks across the valley and Lake Rotoaira. We saw a couple who had just got engaged at this spot which made it all the more special.
8) Ketatahi shelter to end of track
Difficulty: Easy/Medium
Distance: 6 Kilometres
Time it took us: 1 hour 40 minutes
The final stretch! Although downhill all the way which should technically be easy, I found this last part rather difficult as my legs were very tired and it was just so longgg.
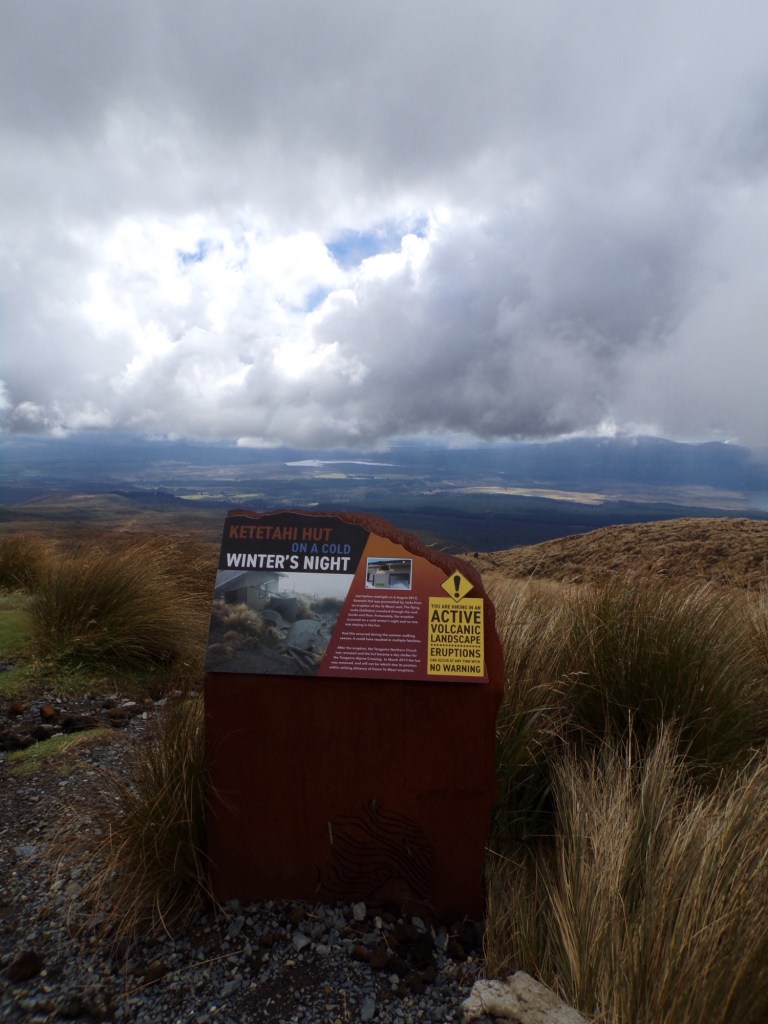
The section starts at the Ketatahi hut, which actually isn’t a hut any longer as it got destroyed in August 2012! When the Te Maari vent on Mount Tongariro erupted, the hut sustained holes in its roof and floor leading to its closure, and eventual removal, by the DoC in 2019. Now, all that remains in its place is an information board about its history, and 2 long-drop toilets for use of hikers on the Tongariro Alpine Crossing.
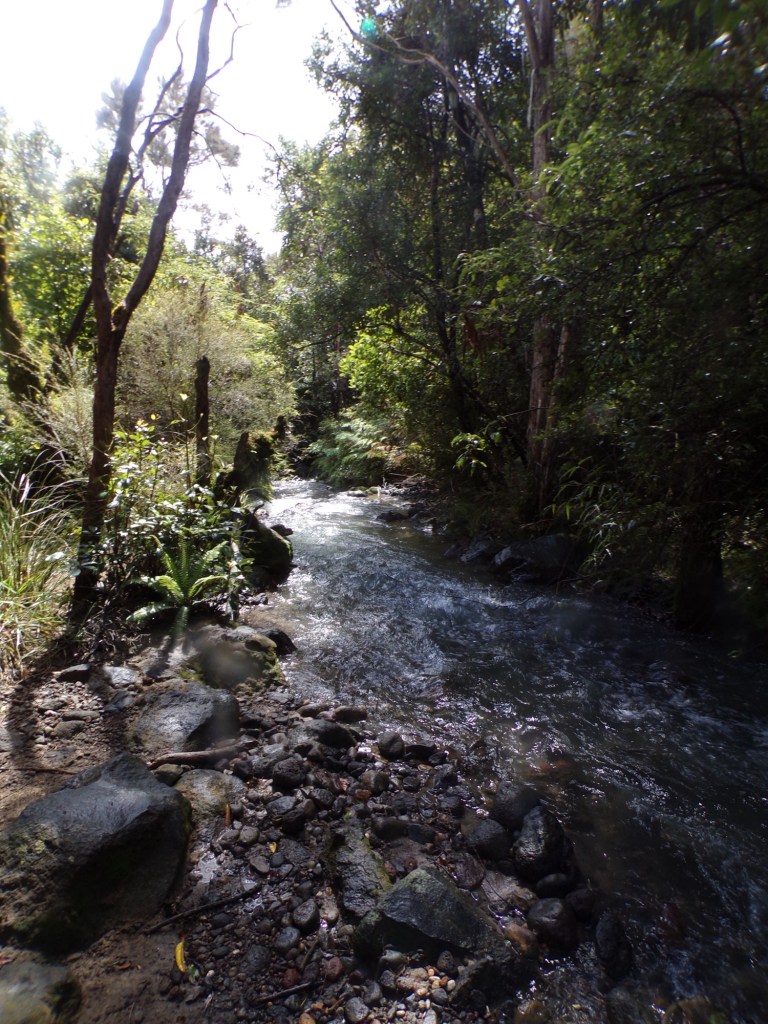
After this, the gravel path continues and goes more steeply downhill and sadly there are a few hundred more steps… but at least they are downhill this time! There is a very pretty waterfall by a bridge that is a great place for a quick stop before the last 3 kilometres.
The last few kilometres are along a gravel path through a forest along the river. We were feeling very done with the walk by this point, so probably did not appreciate our surrounding enough, but it was all very pretty and nice to see some greenery again!
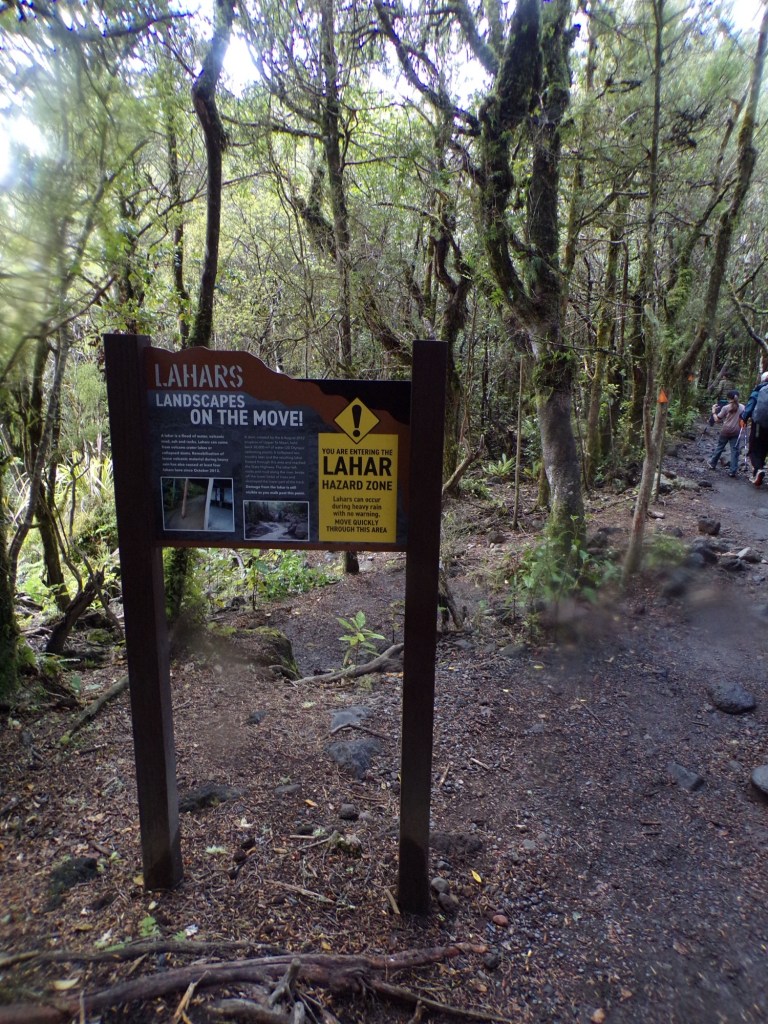
It’s also fun that in this section the hazard is lahars instead of a volcanic eruption, nice to switch it up hey! This path genuinely seems to go on forever and as much as I had enjoyed the walk, I was very tired and wanting to be finished by this point. Finally, after 6.5 hours and 20km we made it to the end! You see the sunlight through the opening in the forest and hear the cars and know that you’ve made it! There is a seating area that we sat at for about 5 minutes until our shuttle arrived, and we left for the car park.

Conclusions and reflections:
- Personally, I think the walk is long rather than hard. The uphill sections only account for 4km or 20% of the total walk. For us, the weather made it more challenging, as the wind was pushing us backwards sometimes, but we still managed it fine!
- The hardest part is the terrain which makes it challenging as a lot of it is loose shingle and gravel, which makes walking slow as you have be careful where you put your feet.
- After previously hiking Roy’s Peak I was worried about being freezing again at the higher altitudes, but fared a lot better this time round. To begin with I just wore shorts, a T-shirt and a coat, and then before the Red Crater Ride I put on trousers and a jumper to protect from wind chill, and felt very comfortable.
- The walk is great even in unideal weather conditions. We were worried we were going to regret completing the walk at all, given that we missed out on probably 80% of the views because of the cloud cover. However, we were very much wrong and it was still 100% worthwhile to complete it.
- With the unofficial title of of ‘New Zealand’s best day hike’ we were also concerned that the hike was going to be hugely busy. From our experience, although it definitely is popular, the crowds do not ruin it at all (but maybe that’s because the weather put everyone off)!
Thank you for reading this blog! If you have enjoyed it and are thinking of doing other hikes in New Zealand, read these blogs below:
Robert Point track in Franz Josef
And if you need recommendations for what to do in different places in New Zealand, have a look here:

Leave a comment